The Ultimate Guide to the Robo 3D Printer R2: Transforming Your 3D Printing Experience
3D printing has revolutionized the way we approach design and manufacturing, making it accessible to hobbyists, professionals, and businesses alike. Among the myriad of printers in the market, the Robo 3D Printer R2 stands out for its robust features, ease of use, and incredible print quality. In this comprehensive guide, we will explore every aspect of the Robo 3D Printer R2 to help you understand why it is an excellent choice for your printing needs.
1. Introduction to the Robo 3D Printer R2
The Robo 3D Printer R2 is not just a printer; it is a gateway to innovation and creativity. Whether you are a seasoned professional or just beginning your 3D printing journey, this printer offers a perfect blend of user-friendliness and advanced technology. With its large build volume and versatile capabilities, the R2 is designed to cater to a wide range of projects, from simple prototypes to complex models.
2. Key Features of the Robo 3D Printer R2
Let’s delve into the features that make the Robo 3D Printer R2 a standout in the market:
- Large Build Volume: The R2 boasts a generous build volume of 10 x 10 x 12 inches, allowing for large prints or multiple smaller models in one go.
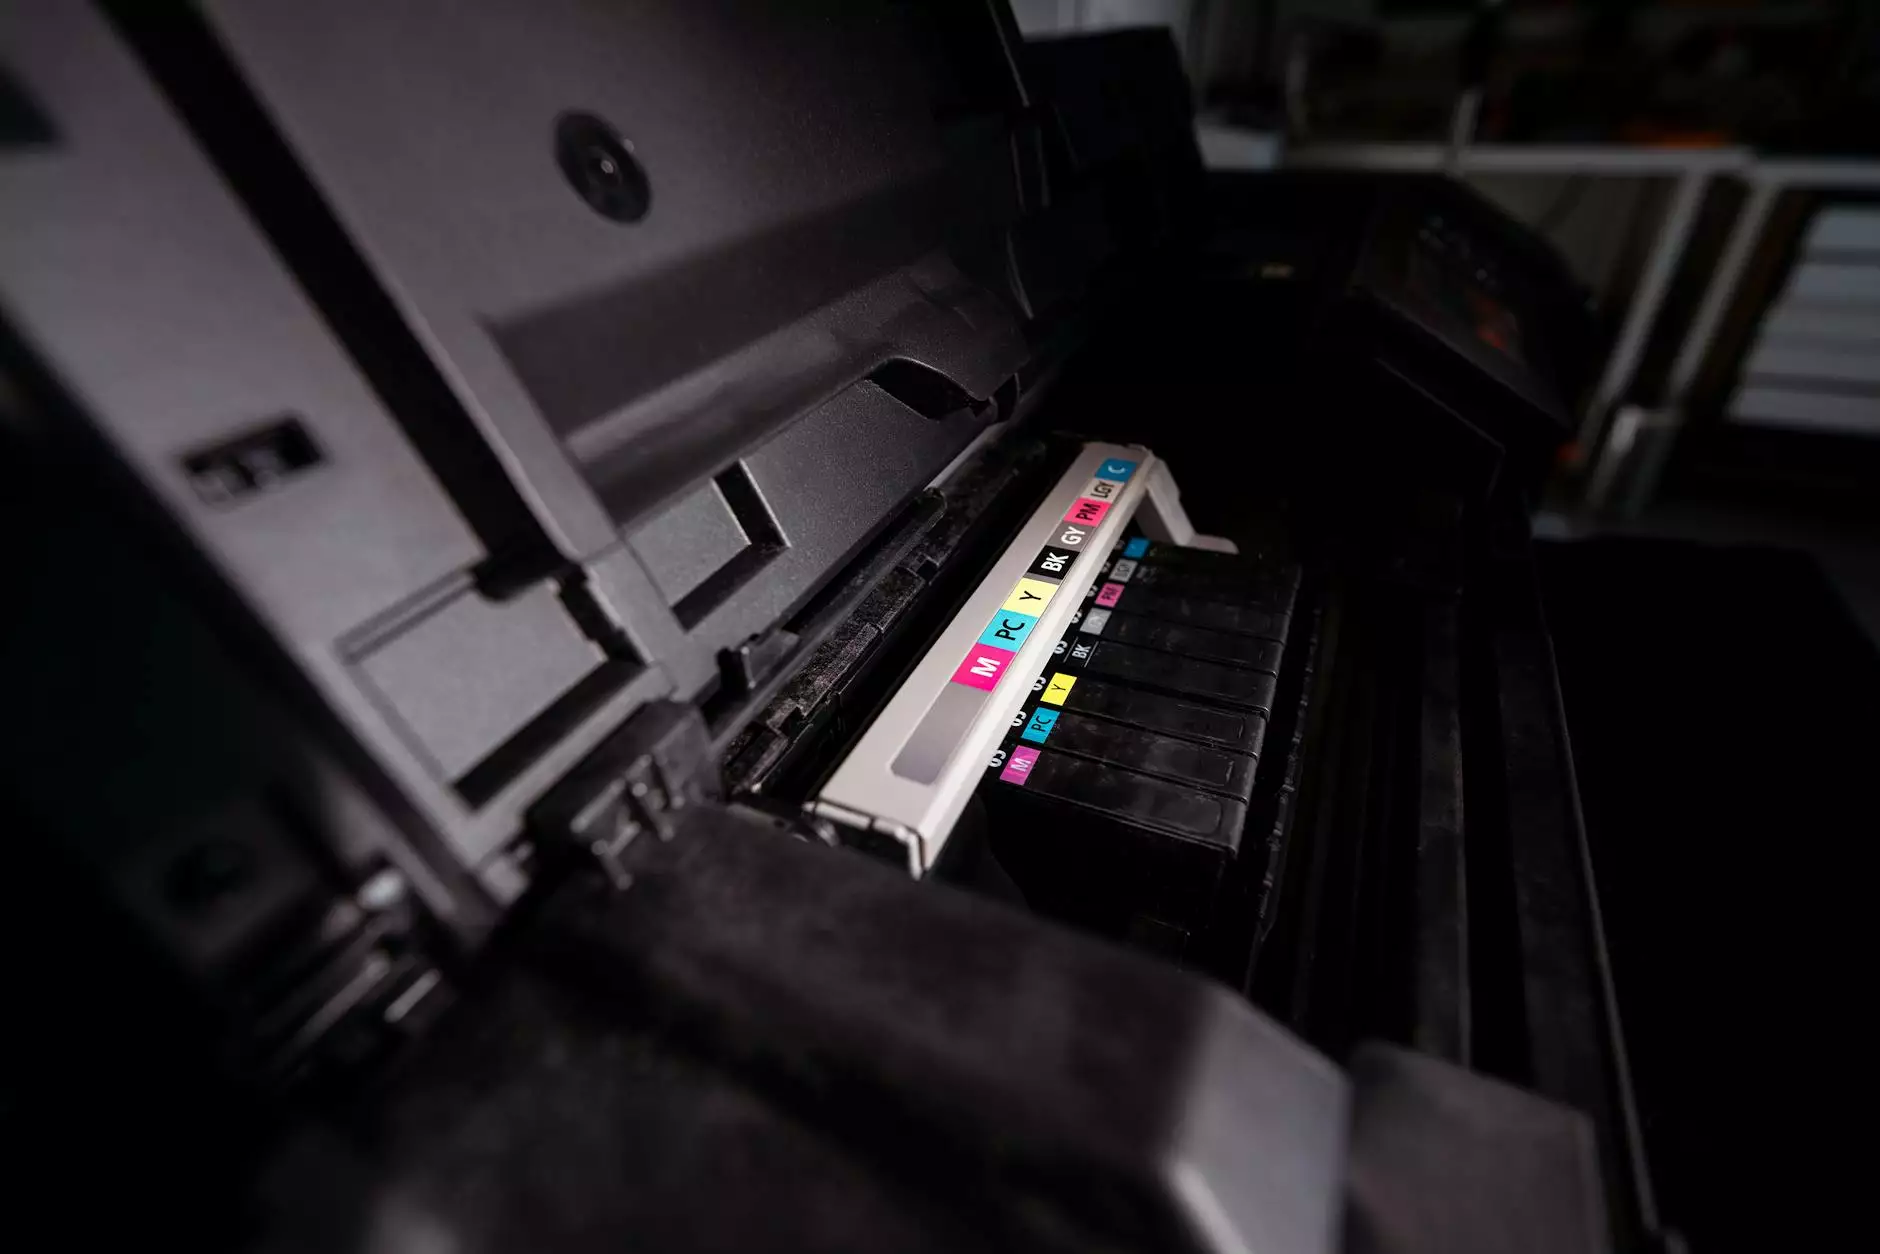
- All-Metal Hotend: This feature provides superior heat management and allows the printer to handle a wide variety of filament types, including ABS, PLA, nylon, and even composites.
- Easy-to-Use Touchscreen Interface: The user-friendly touchscreen makes navigation and operation intuitive, even for beginners.
- Wi-Fi Connectivity: Print wirelessly from any computer or mobile device, making it easier to manage your print jobs remotely.
- Open Filament System: Users have the flexibility to choose any filament material—ideal for experimenting with different projects.
- Automatic Bed Leveling: This feature simplifies setup and ensures perfect adhesion every time, reducing print failures.
3. Why Choose the Robo 3D Printer R2?
The market is saturated with various 3D printers, but the Robo 3D Printer R2 has carved out its niche by providing exceptional value and performance. Here are a few reasons why it should be your top choice:
3.1. Exceptional Print Quality
The R2 is renowned for its precision and quality. With a layer resolution from 100 microns to 300 microns, it delivers high-quality results for detailed models. This accuracy is essential for professional applications such as engineering and product design, where each detail matters.
3.2. Versatility for Various Applications
From prototyping to artistic projects, the R2 is a versatile tool. Its capability to use different materials opens doors to countless applications, making it suitable for:
- Prototyping and Product Development
- Educational Use in Schools and Universities
- Artistic and Creative Projects
- Replacement Parts and DIY Solutions
3.3. Strong Community Support
Investing in the Robo 3D Printer R2 comes with access to a strong and vibrant community. Users benefit from a wealth of resources, including:
- Tutorials and Online Workshops
- Dedicated Forums for Troubleshooting
- Access to a Library of Pre-Made Designs
4. Getting Started with the Robo 3D Printer R2
Once you have decided to invest in the Robo 3D Printer R2, setting it up is straightforward. Follow these steps to begin your 3D printing journey:
4.1. Unboxing and Assembly
The R2 comes partially assembled, reducing setup time. Carefully follow the instructions in the manual to complete the assembly. Make sure to:
- Check all parts are undamaged.
- Ensure the printer is on a flat, sturdy surface.
4.2. Software Installation
Download the latest version of the Robo desktop application from the Robo 3D website. This application is essential for preparing your 3D models for printing. The software offers tools to help you:
- Slice models into printable layers.
- Optimize settings for different materials.
- Connect via Wi-Fi to send prints directly to the printer.
4.3. Choosing the Right Filament
The choice of filament significantly affects print quality. Popular choices include:
- PLA: Great for beginners, biodegradable, and easy to work with.
- ABS: Stronger and more heat-resistant, ideal for functional parts.
- Nylon: Known for its toughness and flexibility, suitable for high-stress applications.
- TPU: A flexible filament perfect for rubber-like parts.
4.4. Calibration and First Print
Before starting your first print, calibrate the printer. Follow these steps:
- Use the automatic bed leveling feature to set up the print bed.
- Refer to the nozzle height adjustment for optimal printing distance.
- Load your chosen filament and preheat the nozzle as directed by the software.
Now you are ready for your first print! Simply select a model in the software, adjust settings as necessary, and hit print.
5. Maintenance and Care for Your Robo 3D Printer R2
To ensure that your Robo 3D Printer R2 runs smoothly, regular maintenance is essential. Here are key tips:
5.1. Regular Cleaning
Keep the print bed clean to ensure optimal adhesion. Wipe it down with isopropyl alcohol after each print. Additionally, check the nozzle for clogs and clean it periodically as needed.
5.2. Firmware Updates
Stay updated with the latest firmware for optimal performance. Check the Robo 3D website regularly for updates and instructions on how to upgrade your printer’s software.
5.3. Replace Worn Parts
Components like the nozzle and print bed surface can wear over time. Monitor their condition and replace them when necessary to maintain print quality.
6. Troubleshooting Common Issues
Even the best printers can encounter problems. Here are common issues with the Robo 3D Printer R2 and how to resolve them:
6.1. Print Adhesion Problems
If your print isn’t adhering well to the bed, consider:
- Ensuring the bed is clean and level.
- Checking the nozzle height.
- Using a heated bed setting, if applicable.
6.2. Layer Separation or Warping
These issues often arise when prints are too tall or not adequately cooled. Try:
- Reducing print speed.
- Adjusting the cooling settings in the software.
- Using an enclosure for better thermal stability.
6.3. Clogged Nozzle
A clogged nozzle can be frustrating, but you can solve it by:
- Heating the nozzle and manually pushing filament through.
- Performing a cold pull with nylon filament or cleaning filament.
7. Conclusion: Embark on Your 3D Printing Journey with the Robo 3D Printer R2
The Robo 3D Printer R2 is an extraordinary tool that opens the door to endless possibilities in the world of 3D printing. Its combination of advanced features, user-friendly design, and excellent support make it a top choice for individuals and businesses. Whether you aim to create intricate designs, prototype products, or fulfill educational needs, the R2 is equipped to fulfill your ambitions.
As you embark on your 3D printing journey, remember that creativity is the only limit. With the Robo 3D Printer R2, you hold the ability to turn your ideas into tangible reality. So, why wait? Start creating today!